


Technical Note 22
Windows 7 and Vista Installation Instructions
Windows 7 and Vista have a number of security features that add a few extra steps to the installation of Harris Tech software compared to earlier versions of Windows such as Windows XP. This topic will explain the details of the "Pro Bundle" installation of BassBox 6 Pro and X•over 3 Pro. The individual installation procedures for BassBox 6 Pro, BassBox 6 Lite and X•over 3 Pro are very similar and differences will be noted where they exist.
Before beginning an installation, you should be logged into Windows with a user account with administrator privileges. Later, we recommend that you run the programs only from the same user account. We also strongly recommend that you use the default settings during installation and do not change the drive or path where the programs are installed.
Installation Procedure
- Insert the BassBox/X•over Pro CD-R disc into a compatible CD, DVD or Blu-ray drive. The setup program should automatically start. If AutoPlay is not enabled on your computer, then you will need to start the setup program manually. This is done by running the Windows Explorer (Windows key+E), navigating to the installation CD-R and double-clicking on setup.exe inside the setup folder. The name of the disc and the setup folder vary with the disc type and are listed below:
setup-z - Both BassBox 6 Pro and X•over 3 Pro (BBx-Xo Bundle)
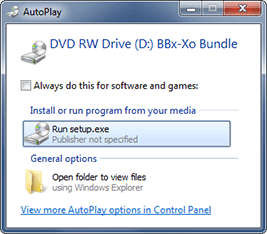
If the setup program started automatically, then an "AutoPlay" dialog will probably appear (shown below) requiring confirmation before launching the setup program. Click on "Run setup.exe" to launch it.
setup-b - BassBox 6 Pro only (BassBox Pro)
setup-x - X•over 3 Pro only (X-over Pro)
setup-bl or setup-blc - BassBox 6 Lite (BassBox Lite)
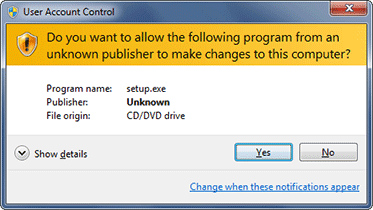
- When the setup program starts, the Windows security system will probably halt it and display a "User Account Control" dialog (shown below) to make sure that "...you want to allow the following program from an unknown publisher to make changes to this computer". The program name should be listed as "setup.exe" (it may be in all caps) and it should list the CD, DVD or Blu-ray drive as the "File origin". Click on the "Yes" button to allow the setup program to continue. If you fail to respond within a few minutes, the setup program will forceably terminate.

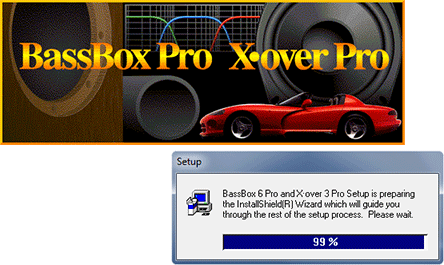
- When the setup program begins, you'll see the title art for the programs and you'll see the InstallShield load (shown below). We use an industry-standard InstallShield installer for our programs.

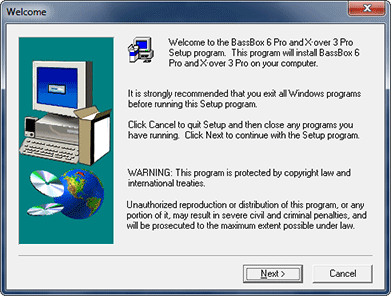
- The Welcome dialog will appear next (shown below) to remind you that other programs should not be running in the background during the installation. As a general rule, it is best whenever you install or update a computer program, to exit all other programs first. Also, if it has been a while since you last restarted Windows, it is a good idea to do that to insure that you have a fresh instance of Windows running. We also recommend that you temporarily disconnect from all networks, including the internet, and disable your antivirus, antispyware, anti-malware and firewall software during the installation. These programs are sometimes too aggressive and can interfere with the normal operation of the setup program. For more information, please see Technical Note 24. (Important: Make sure that you turn back on your antivirus, antispyware, anti-malware and firewall software before reconnecting to a network—especially the internet.) Click on the "Next" button to continue.
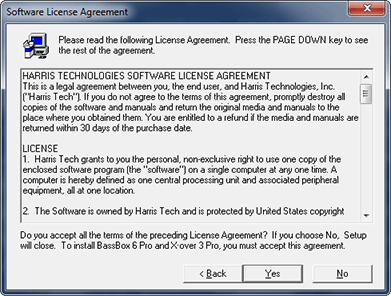
- The Software License Agreement will appear next (shown below). Please read it before proceeding. This is a legal document that you must agree to before you can proceed with the installation. If you do not, then click the "No" button to exit the setup program. We offer only single-user licenses for our software. It allows you to install the programs on more than one computer as long as they are used on only one computer at a time. It also allows more than one person to use the programs as long as only one person uses them at a time. You can think of them as a book that only one person can read at a time. Our software should never be installed on a network. Nor should you ever make copies of the installation disc to give to other people. However, you can make a backup for yourself (recommended). Once you've read the license agreement and agree to abide by its terms, then click the "Yes" button to continue.
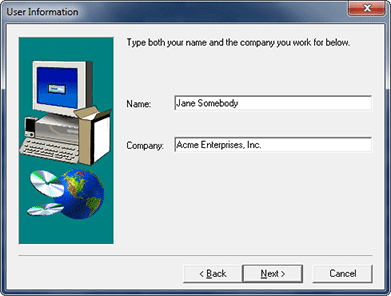
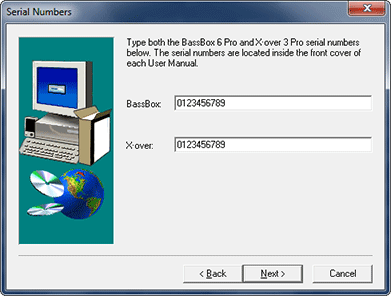
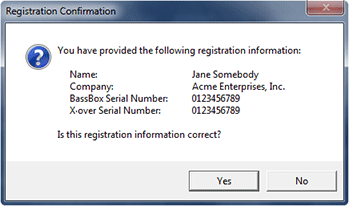
- Next you must enter your registration information. Since this example follows the Pro Bundle installation, it requires two serial numbers (one for BassBox Pro and one for X•over Pro) and two dialog boxes will be used as shown below. If your installation disc contains just one program requiring just one serial number, then the User Information and Serial Numbers dialogs will be combined into a single dialog.
Enter your name and, if desired, company name in the input boxes of the User Information dialog (shown below). Please keep the names simple—do not use punctuation like quotation marks. Click on the "Next" button to continue.

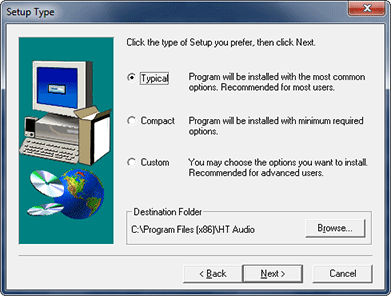
- The Setup Type dialog will appear next (shown below). We strongly recommend that Windows 7 and Windows Vista users do NOT change these settings. Use the default "Typical" installation and use the default Destination Folder (usually "C:\Program Files\HT Audio" for 32-bit versions of Windows and "C:\Program Files (x86)\HT Audio" for 64-bit versions of Windows). BassBox Pro, BassBox Lite and X•over Pro may not function properly if you use a different Destination Folder. Click on the "Next" button to continue.
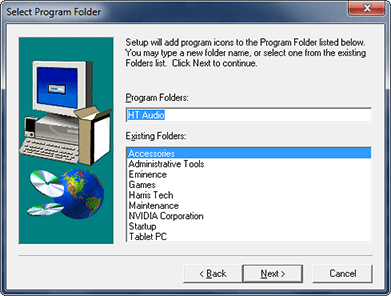
- The Select Program Folder dialog will appear next (shown below). This setting is less critical, but again, we recommend that you use the default setting. Click on the "Next" button to continue.
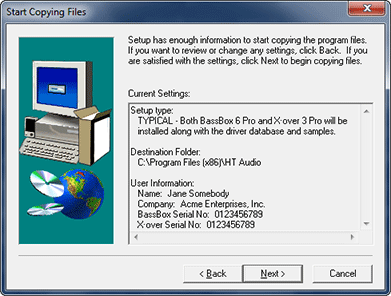
- The Start Copying Files dialog will appear next (shown below). It will display a summary of the settings you have entered, giving you one last chance to go back, if desired, and make changes.

- When the installation has completed successfully, the following Information dialog will appear. It explains that you can launch the programs from the Windows Start menu.
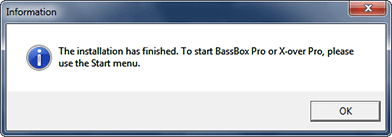
- Finally, a Program Compatibility Assistant dialog may appear and, if it does, its timing may vary. It may appear soon after the installation has completed or it may appear the first time that you launch one of the programs. It will want you to confirm that the programs were installed correctly. Unfortunately, its message may appear cryptic like the one shown below:
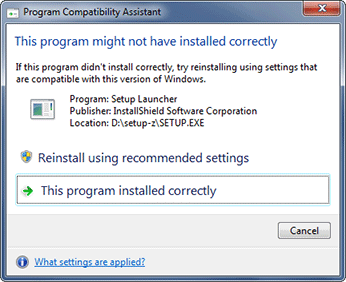
That's it! The programs should now be ready to run. We suggest that you read Technical Note 23 before you launch the programs. It explains what happens the first time you run them (a special welcome/configuration procedure will run). Technical Note 23 will familiarize you with this process so you will know what to expect.
